Traffic capturing and streaming with MikroTik – revisited
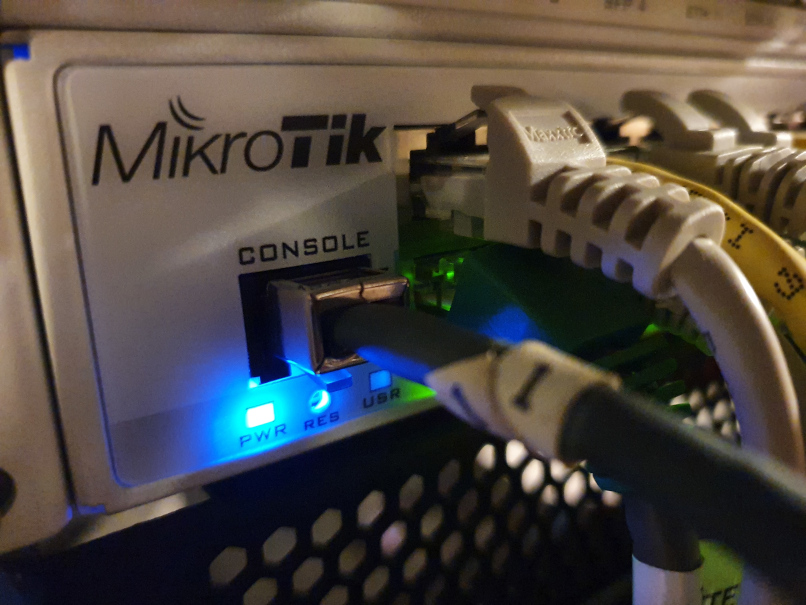
I’ve recently revamped my home network security monitoring. Currently I’m capturing and streaming all network traffic on my MikroTik router’s outside interface to a remote sensor, namely a Raspberry Pi 4 with 4 GB RAM running Suricata IDS. Suricata’s log is read by Elastic’s Filebeat and shipped to an Elasticsearch instance, making the data available for further analysis with Kibana and its SIEM/security capabilities. This blog post is one of a series detailing the various components in this setup.
Other posts:
MikroTik devices stream captured network traffic over a protocol named TaZmen Streaming Protocol. I’ve previously detailed how to build a receiver for this protocol, using the protocol bridge tzsp2pcap and the tcpreplay tool. However, with a more recent version of Raspberry Pi OS (also known as Raspbian) running systemd, the surrounding setup had to be done differently from last time.
tzsp2pcap setup, the systemd way
First, make sure the dummy module is loaded at boot:# echo dummy > /etc/modules-load.d/dummy.conf
Activate a dummy network interface card:# cat > /etc/systemd/network/10-dummy0.netdev[NetDev]Name=dummy0Kind=dummy
Try convincing it not to ask for IP addresses eg with DHCP:# cat >/etc/systemd/network/10-dummy0.network[Match]Name=dummy0
[Link]Unmanaged=yes
[Network]DHCP=noLinkLocalAddressing=no
(I’m getting link-local addresses after all, though. But no harm done.)
Make sure systemd’s network config is enabled:# systemctl enable systemd-networkd.service
After a reboot to make sure all comes up as expected. The setup can be verified using the ip commands:# ip link show dev dummy0
3: dummy0: mtu 1500 qdisc noqueue state UNKNOWN mode DEFAULT group default qlen 1000
link/ether 8e:e4:15:40:2b:50 brd ff:ff:ff:ff:ff:ff
# ip address show dev dummy0
3: dummy0: mtu 1500 qdisc noqueue state UNKNOWN group default qlen 1000
link/ether 8e:e4:15:40:2b:50 brd ff:ff:ff:ff:ff:ff
inet 169.254.71.185/16 brd 169.254.255.255 scope global noprefixroute dummy0
valid_lft forever preferred_lft forever
inet6 fe80::323d:d4f5:6a83:db31/64 scope link
valid_lft forever preferred_lft forever
Now that the virtual NIC for relaying the streamed traffic is enabled, make sure screen and tcpreplay are installed:# apt install -y tcpreplay screen
Set up a systemd unit file to start the relay:# cat > /etc/systemd/system/tzspstream.service
[Unit]
Description=TZSP stream
Before=suricata.service
After=systemd-network.service[Service]
Type=oneshot
RemainAfterExit=yes
ExecStart=/usr/bin/screen -dm -S tzsp2pcap bash -c "/usr/local/sbin/tzsp2pcap -f | /usr/bin/tcpreplay --topspeed -i dummy0 -"[Install]
WantedBy=multi-user.target
The above systemd unit starts a named screen, in which it starts tzsp2pcap feeding its output into tcpreplay which again dumps everything as fast as it possibly can into the dummy0 interface.
After starting the traffic sniffer on the MikroTik unit, streaming the captures to the RPi’s IP address, the captured traffic can be read from the dummy0 interface. This can be verified with e.g. tcpdump.
Putting the pieces together, I’ve got another blog post showing how to compile the Suricata IDS on a Raspberry Pi.